简介
Zola 是一个用Rust写的静态网站生成器(static site generator ,即SSG),基于Go的Hugo 和基于Ruby的JekyII 就是类似的软件。通过SSG,可以让你的网站只包含静态网页,不依赖任何数据库,这样在性能上是非常有优势的。另外,对于小型网站,例如博客,如果使用熟练的话,用SSG来维护网站也更方便。如果想了解更多的静态网站生成器,可以参考jamstack 。
Zola使用tera 作为模板引擎,其规则与Jinja2、Django、Liquid和Twig都比较相似。Zola的内容编写使用CommonMark格式,这是一种比较通用的Markdown的规范,在其网站上可以看到GitHub、GitLab、Qt、Reddit、Stack Overflow这些网站都使用这种规范的Markdown。Zola使用基于Rust的pulldown-cmark库来解析Markdown,以保证内容满足CommonMark规范。
安装
mac
$ brew install zola
windows
$ choco install zola
linux
对于Debian,从barnumbirr/zola-debian下载合适的deb包,然后运行下面的命令安装:
$ sudo dpkg -i zola_<version>_amd64_debian_<debian_version>.deb
对于其他的发行版也有各自的安装方式,具体参考官网文档。
源码安装
如果需要二次开发Zola,或者想深入了解zola,也可以使用源码安装:
$ git clone https://github.com/getzola/zola.git
$ cd zola
$ cargo install --path .
$ zola --version
编译好的二进制在target/release目录,你可以复制到需要的地方。如果rustc的版本偏低,有可能会编译失败,因为有些feature不支持,我试过1.65就不行。一般来说用最新的stable肯定是没问题的。
示例
我们来用一个简单的例子来说明zola的使用。
初始化站点
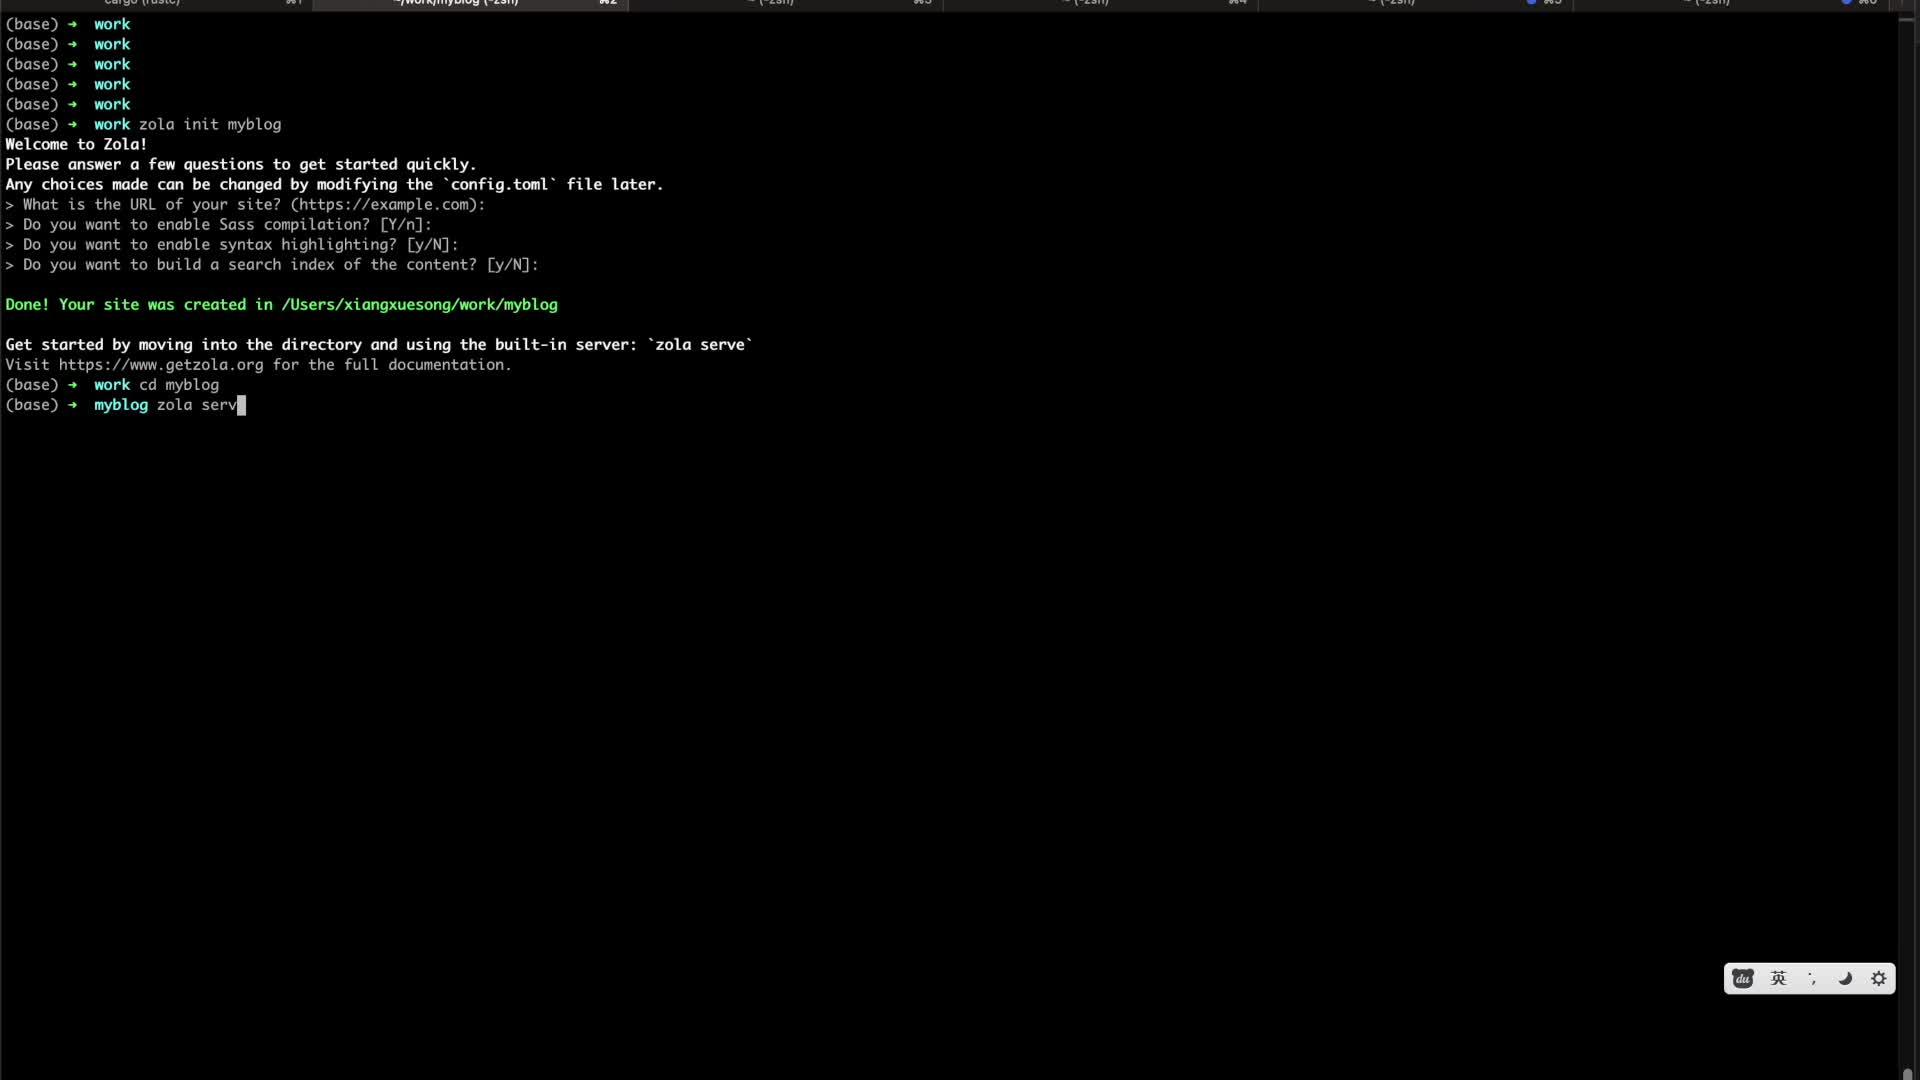
$ zola init myblog

> What is the URL of your site? (https://example.com):
> Do you want to enable Sass compilation? [Y/n]:
> Do you want to enable syntax highlighting? [y/N]:
> Do you want to build a search index of the content? [y/N]:
问题都比较简单,按自己的需要回答即可,初始化后目录结构如下,可以跟示例最终的目录结构做一下对比。
├── config.toml
├── content
├── sass
├── static
├── templates
└── themes
运行站点
$ cd myblog
$ zola serve
Building site...
Checking all internal links with anchors.

> Successfully checked 0 internal link(s) with anchors.
> -> Creating 0 pages (0 orphan) and 0 sections
> Done in 13ms.
> Listening for changes in .../myblog/{config.toml,content,sass,static,templates}
> Press Ctrl+C to stop
> Web server is available at http://127.0.0.1:1111
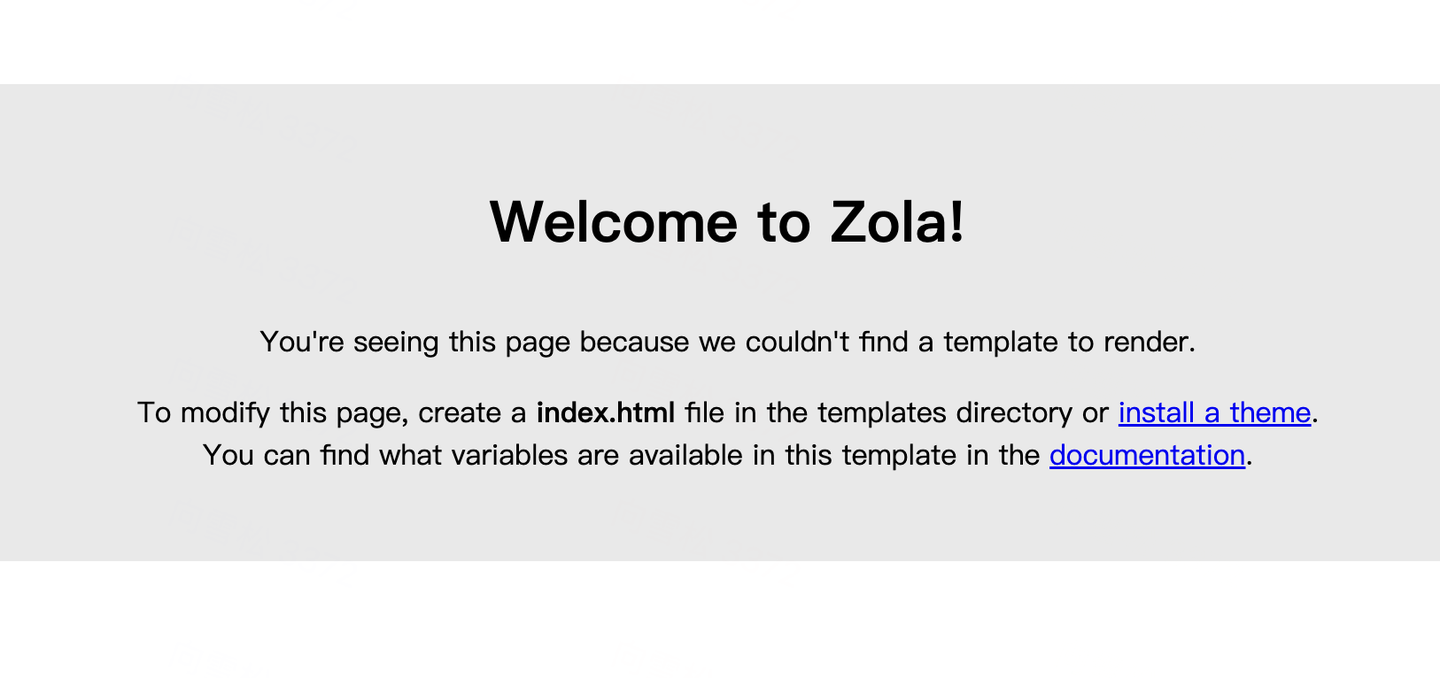
然后你就可以在浏览器输入http://127.0.0.1:1111来访问刚才生成的站点,可以看到Welcome to Zola,如下图。

编辑切换为居中
添加图片注释,不超过 140 字(可选)
需要说明的是,zola serve只是为了便于本地管理站点,真实的站点还是需要用专业的web server来提供服务的。因为zola生成的是一个纯静态网站,所以部署时可选的方案很多,最简单的就是用nginx来配置一个静态网站,把content目录复制到线上即可。
Page
刚才看到的页面是zola自动生成的一个临时页面,因为我们还没有创建任何内容。接下来我们生成一个主页,先在templates目录下创建一个base.html文件,内容如下:
<!DOCTYPE html>

<html lang="en">

<head>
  <meta charset="utf-8">
  <title>MyBlog</title>
</head>

<body>
  <section class="section">
    <div class="container">
      {% block content %} {% endblock %}
    </div>
  </section>
</body>

</html>
然后在同一个目录下创建文件index.html,内容如下:
{% extends "base.html" %}

{% block content %}

<h1 class="title">
  This is my blog made with Zola.
</h1>
{% endblock content %}
这两个都是模板文件,index.html继承于base.html,前面说了,zola的模板引擎是tera,跟常见的一些模板引擎都比较类似,这里就不详细解释了。
Content
然后我们来创建一些内容,zola的内容都是基于markdown的,放在content目录下。我们可以在content下建一些子目录,例如blog,这将告诉zola我们有一个叫blog的section。在blog子目录下创建一个_index.md文件,这是一个特殊文件,描述了blog这个section的一些元数据,例如section的标题、模板等等,如果对不同的section有不一样的展示,就会用到这些数据,这个文件是toml格式。
+++
title = "List of blog posts"
sort_by = "date"
template = "blog.html"
page_template = "blog-page.html"
+++
- sort_by = "date" ,section的文章按时间排序
- template = "blog.html" ,当前section的文章使用templates目录下的blog.html 作为列表的模板
- page_template = "blog-page.html" ,使用templates目录下的blog-page.html 作为页面的模板
Templates
前面说了,要展示section,我们还需要在templates目录创建两个模板文件。我们来先看看blog.html的内容:
{% extends "base.html" %}

{% block content %}

<h1 class="title">
  {{ section.title }}
</h1>
<ul>
  <!-- If you are using pagination, section.pages will be empty. You need to use the paginator object -->    {% for page in section.pages %}
  <li><a href="{{ page.permalink | safe }}">{{ page.title }}</a></li>
  {% endfor %}
</ul>
{% endblock content %}
然后是blog-page.html:
{% extends "base.html" %}

{% block content %}

<h1 class="title">
  {{ page.title }}
</h1>
<p class="subtitle"><strong>{{ page.date }}</strong></p>
{{ page.content | safe }}
{% endblock content %}
这时我们重新运行zola serve,浏览器能看到一行
List of blog posts
内容还是空的,因为我们还没有创建任何文章。
Markdown Content
文章都是markdown格式的,我们在content/blog目录下创建两个md文件
first.md
+++
title = "My first post"
date = 2019-11-27
+++
This is my first blog post.
second.md
+++
title = "My second post"
date = 2019-11-28
+++
This is my second blog post.
最后我们更新一下前面创建的index.html,加上链接:
{% extends "base.html" %}

{% block content %}

<h1 class="title">
  This is my blog made with Zola.
</h1>
<p>Click <a href="{ { get_url(path='@/blog/_index.md') }}">here</a> to see my posts.</p>
{% endblock content %}
注:get_url前面的两个大括号之间有一个空格,是为了避免zola解析成shortcode,使用时请去掉空格
我们可以用浏览器看一下最终的结果,完成示例之后的目录结构如下
├── config.toml
├── content/
│   └── blog/
│       ├── _index.md
│       ├── first.md
│       └── second.md
├── sass/
├── static/
├── templates/
│   ├── base.html
│   ├── blog-page.html
│   ├── blog.html
│   └── index.html
└── themes/
本文视频演示


